TM 9-2320-269-20-2
DATA PLATES ATTACHED WITH DRIVE SCREWS - CONTINUED
ACTION
LOCATION
ITEM
REMARKS
REPLACEMENT - CONTINUED
3.
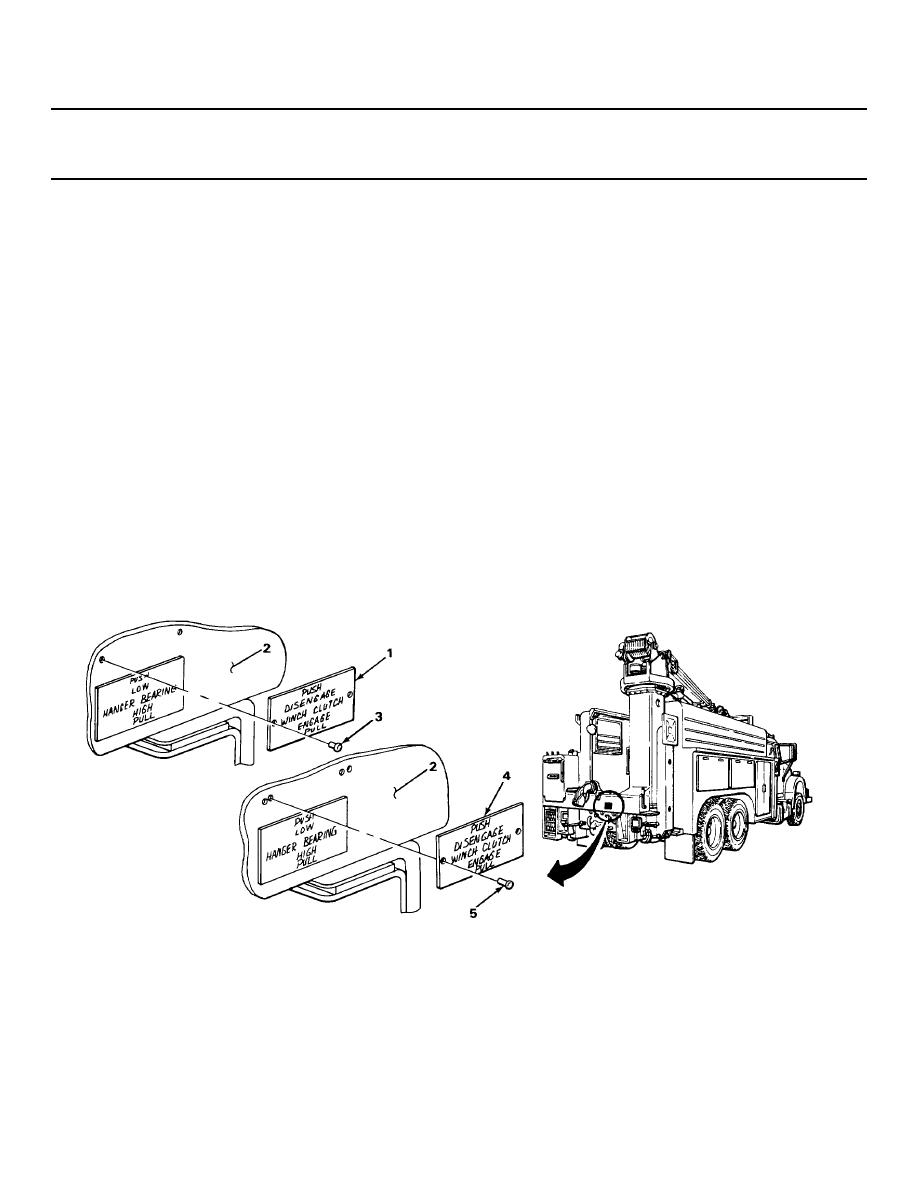
New data
a. Put on as close as possible to
plate (4)
location of old data plate.
Do not line up holes of new data
plate with broken drive screws (3).
b. Use new data plate (4) as a template,
and using hammer and punch mark
starting point for screw holes.
c. Take off.
CAUTION
Some data plates are mounted on winches or other mechanical parts. Do not drill completely through, or
equipment damage may occur.
4.
Body (2)
a. Put length of tape on drill bit equal
to length of new drive screw shaft.
b. Using drill and bit, drill holes.
5.
New data plate (4)
Put in place, and hold.
6.
New data plate (4)
Two new drive
Using hammer, drive in.
to body (2)
screws
TASK ENDS HERE
TA229689
2-1333


 Previous Page
